Unity Project
Built with Unity 6000.0.32f1 · download the source from GitHub
README
![]()
RectPop
![]()
Documentation ( English, Japanese )
RectPop provides features to develop floating UIs such as popovers, tooltips, context menus, and more, easily and efficiently.
RectPop lowers the barrier to standardize floating UIs, helping to prevent similar-looking prefabs from being implemented multiple times throughout a project.
Table of Contents
Details
Overview
When you make a request to RectPop’s core system with any object that has a RectTransform and the Canvas on which that object is placed, it returns the settings necessary for displaying a floating UI. By using RectPop’s UI modules, you can easily apply this result to the UI.
Furthermore, as shown in the initial GIF, the system provides a feature that allows you to reuse a single floating UI in multiple places. RectPop’s UI modules keep the request context and the result context loosely coupled.
Features
Easy Standardization of Floating UIs
As mentioned above, RectPop’s calculation logic does not demand anything more than:
- Any object that has a
RectTransform - The
Canvasin which that object is placed
Furthermore, there are no constraints between the floating UI and the base object, making it possible to use a single floating UI and send requests from various objects.
RectPop also provides the mechanism for this. For an implementation example, refer to Example02Request.cs and Example02Result.cs.
Placing the UI Within the Render Area
The response contains settings for Pivot and Anchor. By applying these to the floating UI, in most cases the UI will remain on-screen.
[!WARNING] If the floating UI is excessively large or you apply extreme offsets, it may end up going off-screen.
Methods needed for applying these settings are also provided. See the Apply method in PopHandler.cs.
Supports All RenderModes
There are three Canvas.RenderMode values: ScreenSpaceOverlay, ScreenSpaceCamera, and WorldSpace. RectPop supports all of them.
Floating Options
Mode
There are three modes:
[!NOTE] You can change the floating position from the default.
Override PopProvider.GetPopAnchorWorldPoint and PopProvider.GetPopPivotPosition in a class that inherits from PopProvider.
Inside
Floats inside the object.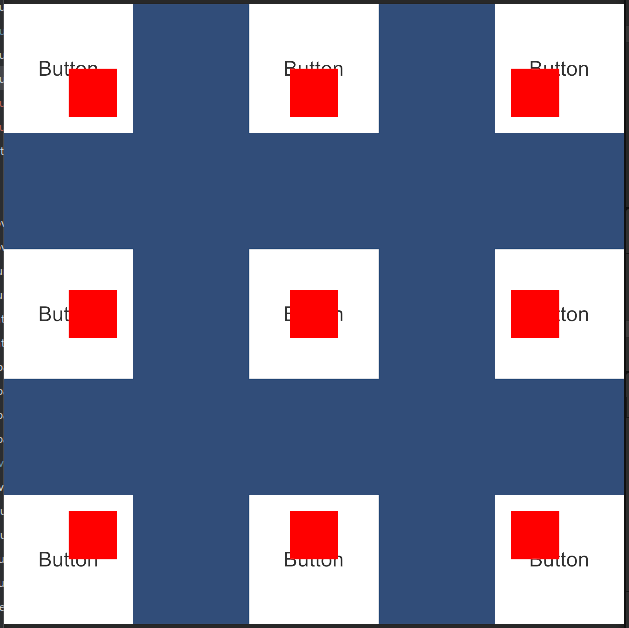
OutsideVertical
Floats above or below the object.
OutsideHorizontal
Floats to the left or right of the object.
Offset
You can add offsets to the top, bottom, left, and right.

Support for Multiple Resolutions
As shown in the initial GIF, RectPop calculates results based on the screen resolution. This means you can support any resolution and, in cases where the resolution changes dynamically, recalculating will display the floating UI in the correct position.
Setup
Installation
You can install RectPop via the Unity Package Manager.
- Open Unity and select
Window>Package Manager. - Click the
+button in the top-left corner and chooseAdd package from git URL.... - Enter the following URL:
https://github.com/hashiiiii/RectPop.git?path=/Assets/RectPop/Sources#v2.0.1 - Click
Addto install the package.
For more details, see the Unity manual on “Installing from a Git URL”.
Minimal Usage
[!NOTE]
There is an example inAssets/RectPop/Examples/Example01.unity. Please refer to it as needed.
Create a Canvas and an object that has a
RectTransform.In the Unity Editor, prepare the
Canvasthat will be the base for your floating UI, and also theRectTransformobject.Obtain a
PopHandlerinstance.PopHandleris a handler for the calculation logic (IPopProvider).public class Example01 : MonoBehaviour { private readonly PopHandler _handler = new(); }PopHandlerrequires anIPopProvider. The default constructor uses aPopProvider. In most cases, this will suffice.public class PopHandler { // static private static readonly IPopProvider Default = new PopProvider(); // dependency private readonly IPopProvider _provider; // constructor public PopHandler(IPopProvider provider) { _provider = provider; } public PopHandler() : this(Default) { } // ----- code omitted ----- }
[!NOTE] If you don’t need to handle multiple
IPopProviderinstances simultaneously, you could also treat thePopHandlerinstance as a singleton.
Execute
PopHandler.Request,PopHelper.Apply.In this example, we display the floating UI when the button is clicked.
public class Example01 : MonoBehaviour
{
    // base
    [SerializeField] private Canvas _baseCanvas;
    [SerializeField] private Button _button;

    // floating ui
    [SerializeField] private RectTransform _popRect;
    [SerializeField] private Canvas _popCanvas;

    private readonly PopHandler _handler = new();

    private void Awake()
    {
        _button.onClick.AddListener(() =>
        {
            // get base rect transform
            var baseRectTransform = _button.GetComponent<RectTransform>();

            // create request
            var request = new PopRequest(baseRectTransform, _baseCanvas);

            // send request and apply result to floating ui
            var result = _handler.Request(request);
            PopHelper.Apply(result, _popRect, _popCanvas);

            // show floating ui
            _popRect.gameObject.SetActive(true);
        });
    }
}
Recommended Usage
In the Minimal Usage example, the base UI and the floating UI were both referenced within the same file. However, in reality, you will likely want to reuse a single floating UI in multiple places. Below is a recommended approach for such a scenario, separating each part into different files.
[!NOTE] There is an example in
Assets/RectPop/Examples/Example02.unity. Please refer to it as needed.
Refer to steps 1 and 2 in Minimal Usage.
These steps are the same.
Execute
PopHandler.Request.This is almost the same implementation as step 3 of Minimal Usage. The difference is that we delegate the process of displaying the floating UI to another class, making this class more concise.
public class Example02Request : MonoBehaviour
{
   // base
   [SerializeField] private Canvas _baseCanvas;
   [SerializeField] private Button _button;

   private readonly PopHandler _handler = new();

   private void Awake()
   {
       _button.onClick.AddListener(() =>
       {
           // get base rect transform
           var baseRectTransform = _button.GetComponent<RectTransform>();

           // create request
           var request = new PopRequest(baseRectTransform, _baseCanvas);

           // send request
           _handler.Request(request);
       });
   }
}
Execute
PopHelper.Apply.Here, we create a class that actually displays the floating UI. We subscribe to the
PopDispatcher.OnDispatchedevent to receive the result and then display it.public class Example02Result : MonoBehaviour { // floating ui [SerializeField] private RectTransform _floatingRect; [SerializeField] private Canvas _floatingCanvas; // register event private void Awake() { PopDispatcher.OnDispatched += OnPopDispatched; } // unregister event private void OnDestroy() { PopDispatcher.OnDispatched -= OnPopDispatched; } // apply result to floating ui private void OnPopDispatched(PopDispatchedEvent ev) { PopHelper.Apply(ev.Result, _floatingRect, _floatingCanvas); _floatingRect.gameObject.SetActive(true); } }
R3, UniRx
RectPop provides integrations so that you can more easily perform event-driven programming with the following OSS:
[!NOTE] There are examples in
Assets/RectPop/Examples/Example02ForR3.unity,Assets/RectPop/Examples/Example02ForUniRx.unity. Please refer to it as needed.
License
This software is released under the MIT License.
You are free to use it within the scope of the license, but you must include the following copyright notice and license text when using this software:
Additionally, the table of contents in this document was generated using the following software:
- toc-generator (https://github.com/technote-space/toc-generator)
For details on the toc-generator license, please see Third Party Notices.md.
Comments
No comments yet. Be the first!
Sign in to join the conversation
Sign In